Hello and welcome.
I hope you are feeling fine. I am doing fine, have a lot of fun ideas that I hankering to get tested out, but first thing first. I'd promised you to come back and show you step by step how to get depth, pattern and life into your artwork. So here we go :-)
 |
| LOOK ON THE BRIGHT SIDE - NOT ALL WHO WANDER ARE LOST - GOOD THINGS ARE GOING TO HAPPEN |
On this canvas, I tore up many pieces from an old book and glued them down with Mod Pogde as it shows at the picture below:
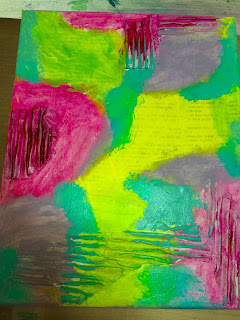
Then I took my acrylic Paint in the colour pink, purple, green, yellow and turquis and smeared Paint on with a baby wipe, as shown below:
so I picked up many exciting and fun stencils and inflicted the same colors that I had used on the background. And of course no art without the use of Stamps :-) I'd used stamps and stamped some pattern in the same colourpalett as the background and some pattern in black ink. I hope you can see it. I know, it was not any good quality of these Pictures. I'm sorry about that.
Finaly I used a clover-stencilmask from Dylusion and a blending tool and Paint around the stencilmask With the colour turquoise, and a stencil from Tim Holtz Collection called Dot Fade here and there around the image, and some black stripes with my creditcard. I Draw around the edges of the clover with a black Posca pen.
And voila it became this litle piece of art :-)
I hope this was helpful and inspiring and gave you a taste for more so you come back soon.
If you are Norwegian/Scandinavian or just familiar with the language, check out my post on Rubber Dance Scandinavian blog. There I have posting doodling and Neocolors II on aquarellepaper. It is very fun and you can not stop once you've started, I promise you :-)
Next time I will show you step by step from my Art Journal among other things this:
- and maybe some more.
Dont go away - stay tuned!
Hugs from me to you
<3
<3


Thank you for showing us how you made that page, Niti! The pieces of currogated cardboard really did the trick to make those cool looking textures. Love the bright colours! :-)
ReplyDelete♥