Showing posts with label mixed media art. Show all posts

Thursday, 25 January 2018

Decorating the front cover of Mini File Folder Art Journal - video tutorial - Step three

Hello and welcome!
I have made a series on how to make a Mini File Folder Art Journal from the start to finish. This is a tutorial on how I decorated the front cover of the Mini File Folder Art Journal. There will also be videos of how to decorate the pages inside the book. I will show you a lot of fun techniques and a lot of very funny pictures with hilarious texts designed by Betsy Skagen. 
My idea is to make a book filled with humor. It's so small that it can be with me in my purse and I can draw and doodle whenever I want to. And I can just take a look at the pages/pictures the book when I feel a bit down.
My thought is that it will be a never ending book. I can add more pages with ex. washi tape, I can stamp, I can draw and doodle and make marks. I can add bits and pieces, you know - everything is allow in mixed media.


I hope you will enjoy the video.

Tomorrow I come back with a new video on how to decorate a page inside the Mini Art Journal with a image/focal point designed by Betsy Skagen as mentioned above. Here is a sneak peak:

The printables I've used on the front of my Mini File Folder Art Journal is from Mixed Up Magazine Merhandise.

Please subsribe on my YouYube Channel for more videos to come,
and remember you can also follow me on Instagram: https://www.instagram.com/nitien/

Thank you for visiting! 

Hugs, Anita
❤


Monday, 22 January 2018

Making a Mini File Folder Art Journal - tutorial

Hello and welcome.

I have made a series on how to make a Mini File Folder Art Journal and how to decorate it.

My idea is to make a book filled with humor. It's so small that it can be with me in my purse and I can draw and doodle whenever I want to. My thought is that it will be a never ending book. I can add more pages with ex. washi tape, I can draw and doodle and make marks. I can add bits and pieces, you know - everything is allow in mixed media.

I hope you will enjoy my tutorials. I plan to come back with more videos where I decorate the pages.

This is how I make the Mini File Folder Art Journal:


This is how I sew it togheter:


Thank you for visiting!

Hugs, Anita
❤

Friday, 19 February 2016

Mixed Media fun with elephants

Hello and welcome!

I have to tell you I am WAY behind my "do some wonderful art time-Schedule" because the weekend to weeks ago we were away at the mountain skiing, And then monday my litle sweetie get sick (this stumic thing we Norwegians called omgangssyke) and then me and my husband get sick.... you know - the hole week in bed or sofa doing nothing. So last weekend my brother and my father and stepmother came visiting to celebrate litle Amalie three-years day. And  now, this days we renovated kitchen and living room.... ☺and Saturday (tomorrow) we get visitors again...

But today I had to have some quality time in my studio! And I want to show you something I've never done before. I was inspired my the loveley and talented Marta Lapkowska and do some Mixed Media, Scrapbooking, yeh!


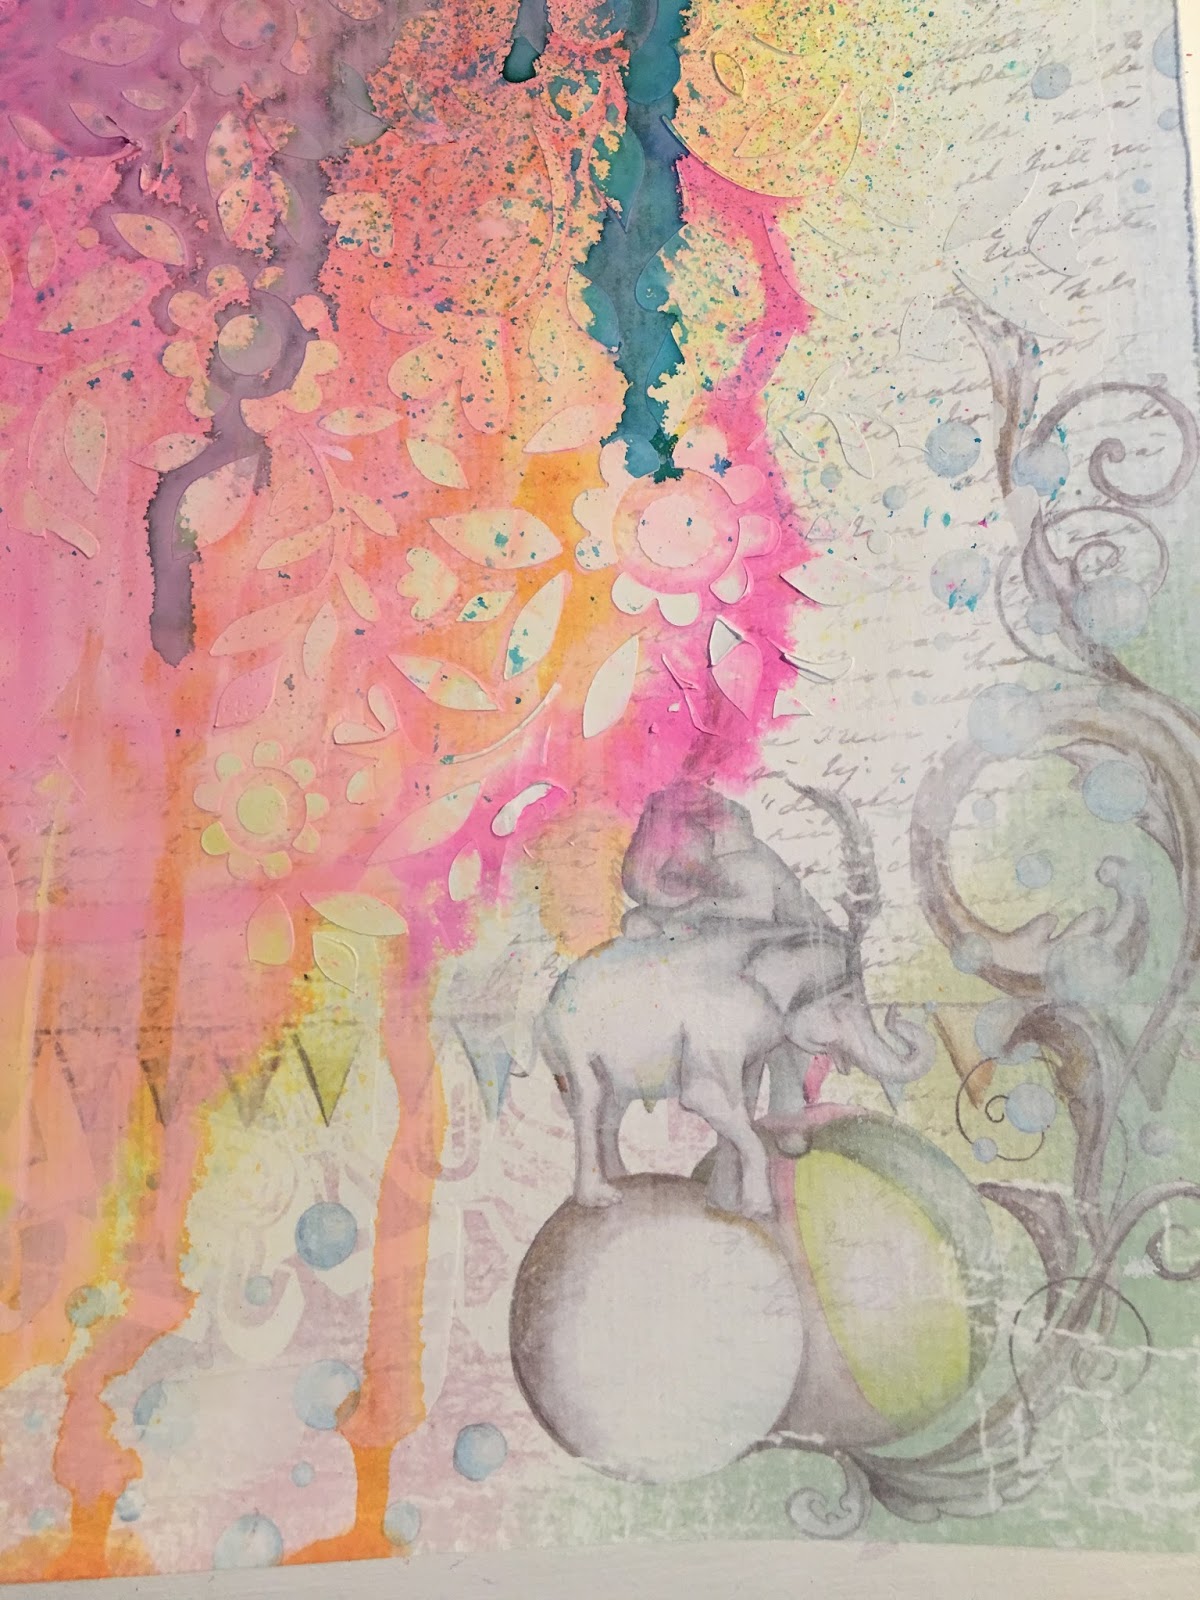
I find some Scrappaper laying around in my studio. I think this sheet was very sweet with elephants and the fine sugar color. I started with some white gesso, then some Modeling paste trought a stencil just to get some texture.


I've used my heat tool to to get it all dry and then I took Dylusions Ink sprays in colour Bublegum pink and yellow and spritz ligtly over the modeling paste.


as you can see I've also used Vibrant Turquise Dylusions Ink spray to the piece


I  tore apart some other Design Paper, punching holes, hearts, flowers and stars using my punshers and my husband's hole punch.


I've used a stapler to gather all and then use my glue gun to glue it down.

Then I find my stash such as flowers beads, ribbons, cloth, etc.


I also had some lace curtain fabric lying around which I cut up and colored with light green fabric color


Then I stamped the elephant on a white cardstock and the thread stamp around the edges. I used another stamp to get stitches above the thread.


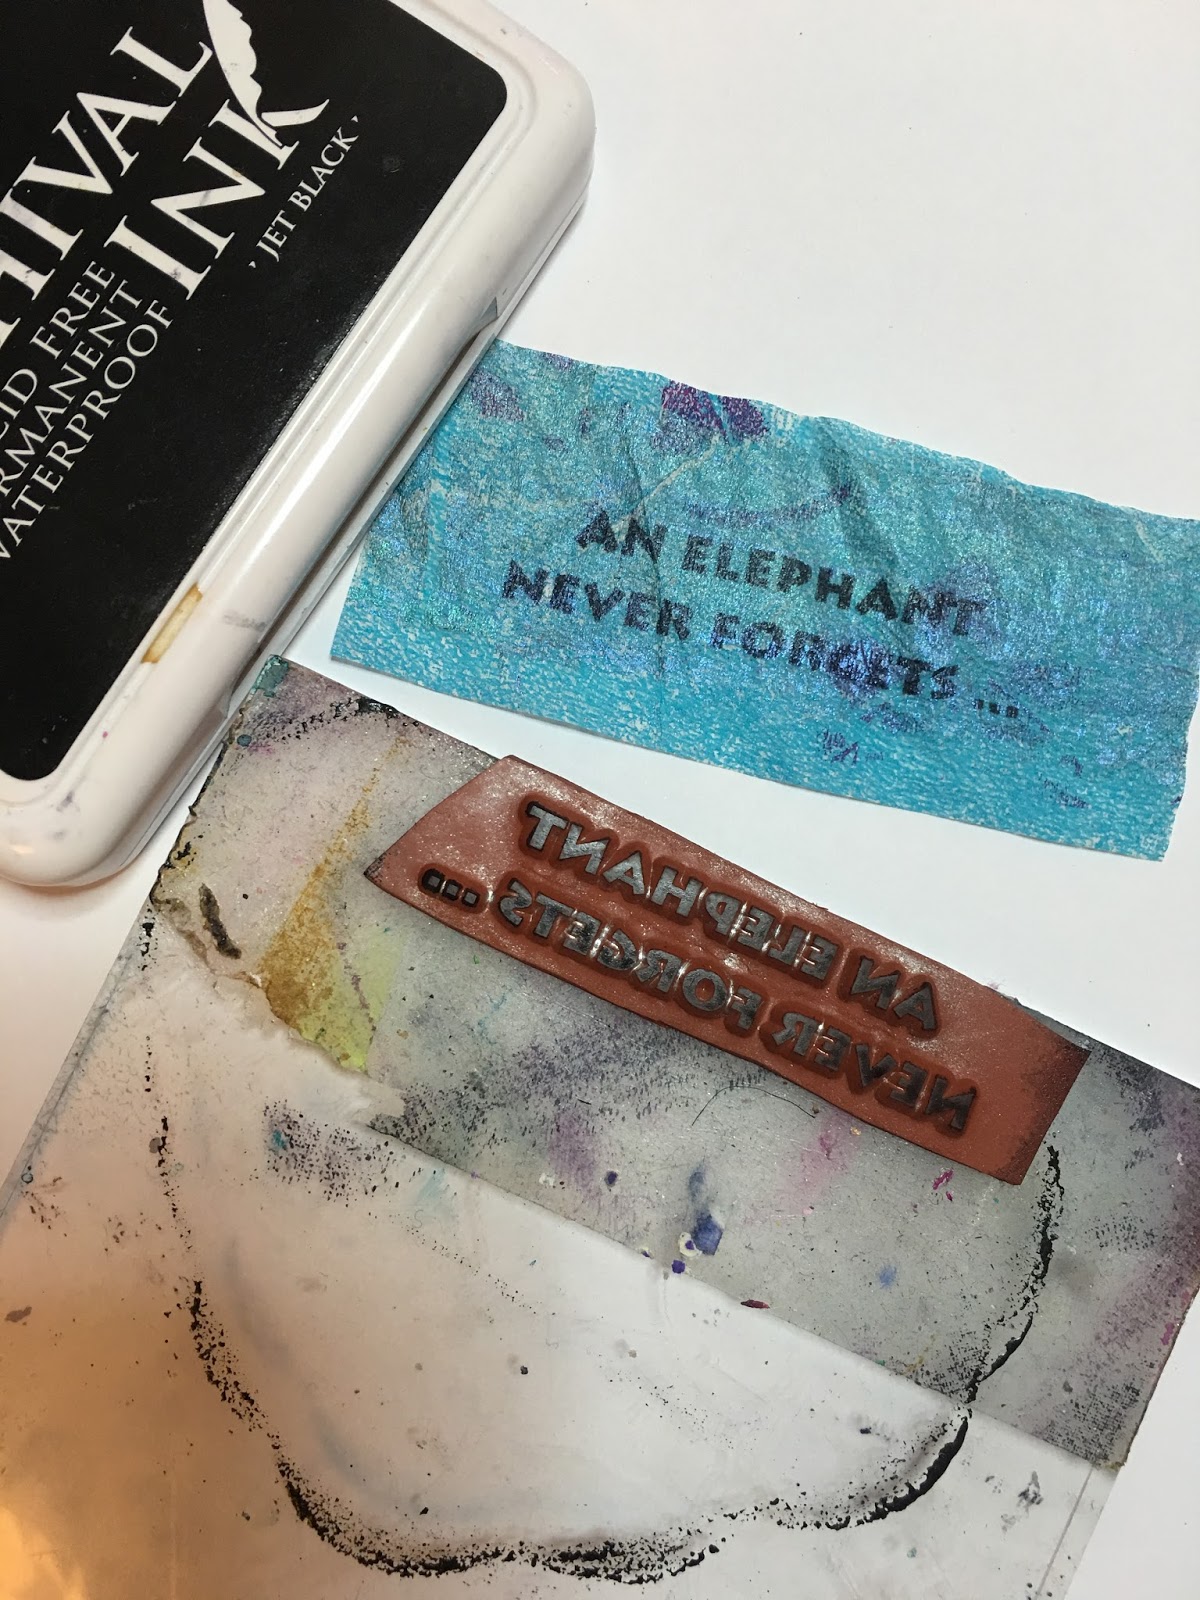
I stamped the phrase "An elephant never forget" on a napkin I've been decorated earlier then glue it on a white cardstock.


The rest of the phrases I just stamped on white cardstock with pink and silver ink, and cut it out with my scissors


Then I glue it all down on my scrappaper with my heat glue tool and glue pads.

Here is some close ups for details


I hope you enjoyed my tutorial. I really had a good time making this. Not only it was very cozy to make, I even got to use a little of everything of my stash that has been laying around, and some recycling.


All the stamps I've used comes from the online store Rubber Dance Stamps, except the stitch stamp and the sentence "Thank you".

I want to thank Marta Lapkowska for giving me so much inspiration ♥
Next time I will show you my studio/Craft room and a wonderful piece of art using Magicals among other  - also inspired by Marta ☺

I joining the fun over at Creative Carte Blanche which has a challenge this month called "Try Something Artistic You've Never Done Before!" (after a tip from lovely Marjie Kemper ☺Thank you Marjie! ♥)

Hope to see you again! Thank you for visiting.

Hugs, Anita
♥

Friday, 22 January 2016

A creative weekend in Oslo

Hello and welcome my beautiful creative friends ♥

Today I want to tell you about a great adventure I was on last weekend. I was in Oslo and visit a new friend, Liven and her friend Mona  who live near by. We became acquainted through a creative art Facebook group. How cool is that!!? Me, visiting someone a whole weekend which was totally unknown until that weekend...
We had a great time - a hole weekend in her atelier just having fun with Paint, Stencils, Gelliplate, Stamps, old newspapers, old cabin guest books etc. I even slept in the atelier ☺LoL

Liven in her atelier
Me reading a newspaper, Aftenposten, from 29. april 1940...
Atelier and my bed for the weekend
And here is the creative women
And of course I have to show you some of the amazing art that was made during the weekend:


Gelliplate art on old cottage guest books sheets


This stencil was made by Liven (http://m.facebook.com/LivSglede)


I have to tell you - this weekend was like a fairytale one dream weekend unparalleled that I will never forget. Thank you, Liven and Mona and Liven's husband who was chef and fender ☺
There was much laughter, joy, aspirations and creativity. 

I hope this was inspiring for others to do the same. Come along for a weekend and be creative! ♥


I will soon come back and show you the results of my recent work as I mentioned in my previous blog post. Make sure to stay tuned!


Hugs, Anita
♥


Wednesday, 18 November 2015

The ultimate Christmas house with a little twist

Hello and welcome
I've been very busy lately, both with a few social dinners and family visits, but also accompanied my eldest daughter to the hospital for her monthly medicine. Getting the Multible Sclerosis (MS) medication that she must have take even a whole day at the hospital. A little stress for both mother and daughter. So while we sat there I thought hmmm it's almost Christmas, maybe I should show the stylish Christmas house that I have made in between battles.

And here it is - my christmashouse. I am very proud of the results ☺It was so much fun making this madhouse ☺


And here - just because I like you so much, is a step by step tut. of how I did this marvelous house:

I started with a canvas shaped like a house and gesso it


and took out my tim Holtz stencil called Holliday Knit and stenciled with red and green acrylic paint, like a panel on the house. 


the roof is made of watercolor paper in 100 lb, cut into a bunch of small round triangles, and painted with gold paint


then I find my Rubber Dance rubber stamps Giraffe, Deer and Pinecones and stamp them on a tag with Archival Black ink, then I collored them with Distress Ink and cut them out.


I painted with yellow and white in the windows to get the effect of lamplight from the inside of the house. I also stamp the girafe and deer in the window, just to gain a little shade


and here is the animals and the pinecones in color


I stamp the beautiful snowman with Distress ink on a tag


 I colored the hat with Distress ink


 and the rest of the snowman with promarker pens


I glued a lace ribbon at the transition between the wall and the roof before I glued all the tiles on the roof


I took the snow paint and pushed a litle snow on the roof,  window sills and bottom of the wall with a big brush


I glued some bling up under the eaves for icicle effect


and here is some close ups for my project


I am in on the Challenge with my christmashouse at:
Scrappiness - jul
Anything But Cute - its ornamental
Noor Design - Anything goes
Live and love crafts - Christmas Tic-Tac-Toe - glitter, snow

The snowman, deer, pinecones and giraffe is all Rubber Dance stamps, and you can buy them and other beautiful and fun stamps here.
Don't forget if you are shopping at Rubber Dance you can get 15% off with my code  Anita2015
I hope to see you soon again.
Now I will have a good time reading and enjoing my new book that finaly had arrive in my mailbox: The book from the beautiful and very creative Mimi Bondi
A very early happy face *LoL*
I'm sure I'm going to be very inspired and that I certainly is going to show you some of my creations inspired by Mimi Bondi here on my blog, so be sure to stay tuned.
You can even sign up for follow my blog so you make sure you dont miss a thing. You find the button "Bli medlem på dette nettstedet" on the right hand sidebar.

See you soon. Take care ♥ 

Hugs, Anita
♥