Showing posts with label colours. Show all posts

Monday, 21 March 2016

This one goes out to the one I love - the Queen

Hello and welcome

This one goes out to the one love ♪♪♪♪♪ - my oldest daughter, Linn Therese ♥
Despite the fact that she is seriously ill, she manages to get top marks in all subjects in school, she manages to take care of her five year old son (my grandson ♥), and now she sought in psychology college. That is seven years of School! I am so impressed and so proud ☺ That's why this card is for her. She is the føkkin' Queen of everything! ☺

Linn Therese is proof that if you want something badly enough you'll get it. What does not kill you makes you stronger!

Here the other day I recived a lot of fantastic rubber stamps from Rubber Dance, and this lady was one of them. She is absolutly adorable and she reminds me of a queen.....but not just any Queen, a Queen of fu****g everything ☺
Then I thought of my daughter and the song by REM and get startet my Journey ☺my colorful and stampful Journey.

I've made this card out of trash. My husband bought some boxer shorts on Saturday and I ran off with promo ☺Don't throw anything you might use! ☺

Front
Back

I prime it with gesso using my old credit card. Took a tounge brush and created pattern before gesso dry.


Took a stencil from Tim Holts and some Modeling paste to get even more pattern. Let it all dry smooooothly.


I stamped my Queen from Rubber Dance on tissue paper, and stamp her one more time on some card stock and emossed the purse with Midnight Brown embossing powder from the Color Challenge Mega set from Lindy's Stamp Gang. Then I colored the rest of the purse with my brush and Plumeria Pink from the Color Challenge Mega Set from Lindy's Stamp Gang.

  
I used my water brush and "drawn" around the subject, then it is easier to tear out the design.


I stamped the Word "Queen" from Rubber Dance on tissue paper as well and used my waterbrush to rip it out.

I stamped With the Vintage Script stamp from Rubber Dance all over the "card" with black Archival Ink, and used Black Soot Distress ink around the edges


Then I used a Matt Varnish spray to set it before I glue down the Queen and the quote with Matte Gel Medium. I colored the dress and the hat with my brush dipped into Lindy's Stamp Gangs Baby Blue Eyes Aqua for the dress, Time Travel Teal for the hat, scarf, and the litle purse, and Creme Brule' Cream for under the hat.

With this I'm in on the Challenge at:

- Our Creative Corner - The Return of the Challenge -  I chose March '15 - "Junk in Your Trunk"
- Lindy's Stamp Gang - with the Sprays in the mounths colour: Time Travel teal, Creme Brule' Cream  and Plumeria Pink, and Embossing powder in Midnight Brown.
- Anything But Cute - Challenge #11 - Crazy For Colour


Please remember to use the code Anita2016 when you shop at Rubber Dance online Store! You will get 15% off your entire purchase ☺

Thank you so much for visiting my blog! ♥ I will soon come back with more stamps and colors, until then take care!
Please leave me a comment, it's very much appreciated.


Hugs, Anita
♥


Monday, 1 February 2016

Fun with Dragonflies and Alcohol ......... Inks ☺

Hello and welcome.

I hope you had a wonderful weekend and are SO ready to do some art. I want to show you some fun I did with Alcohol Ink and stamps. Simpe, but elegant.


And this is how I did it:

I've used vellum and dripped a few drops of Adirondack Alcohol Inks here and there. I've used the color; Mountain Rose, Purple Twilight, Denim, Stream,Pink Sherbel, Pool, Rasberry and Sunshine yellow. Then I dripped here and there, with a pipette, drops of Antibac. Thats how you've get the lighter dots.


 If you dont have Alcohol Ink Blending Solution, just use Antibac as I did. That works just fine :-)


Then I took those adorable Dragonfly stamps from Rubber Dance and stamped it on top of the Alcohol inked vellum. I've used the Arcival Ink Jet Black ink.


Finaly I took my black pen and drawed around the lines so that the subject came up better.


What do you think?

Don't forget to use your 15% coupon with code Anita2016 when Shopping at Rubber Dance Stamps :)

Thank you for visisting. Hope to see you soon again.


Hugs, Anita
♥

Wednesday, 27 January 2016

A colorful wooden box with dragonflies

Hello my creative friends ☺

I promised you last week i my blog post that I would come back and show you something I was doing these days and which I think was absolutely beautiful and here it is: DADAAAA!! ☺


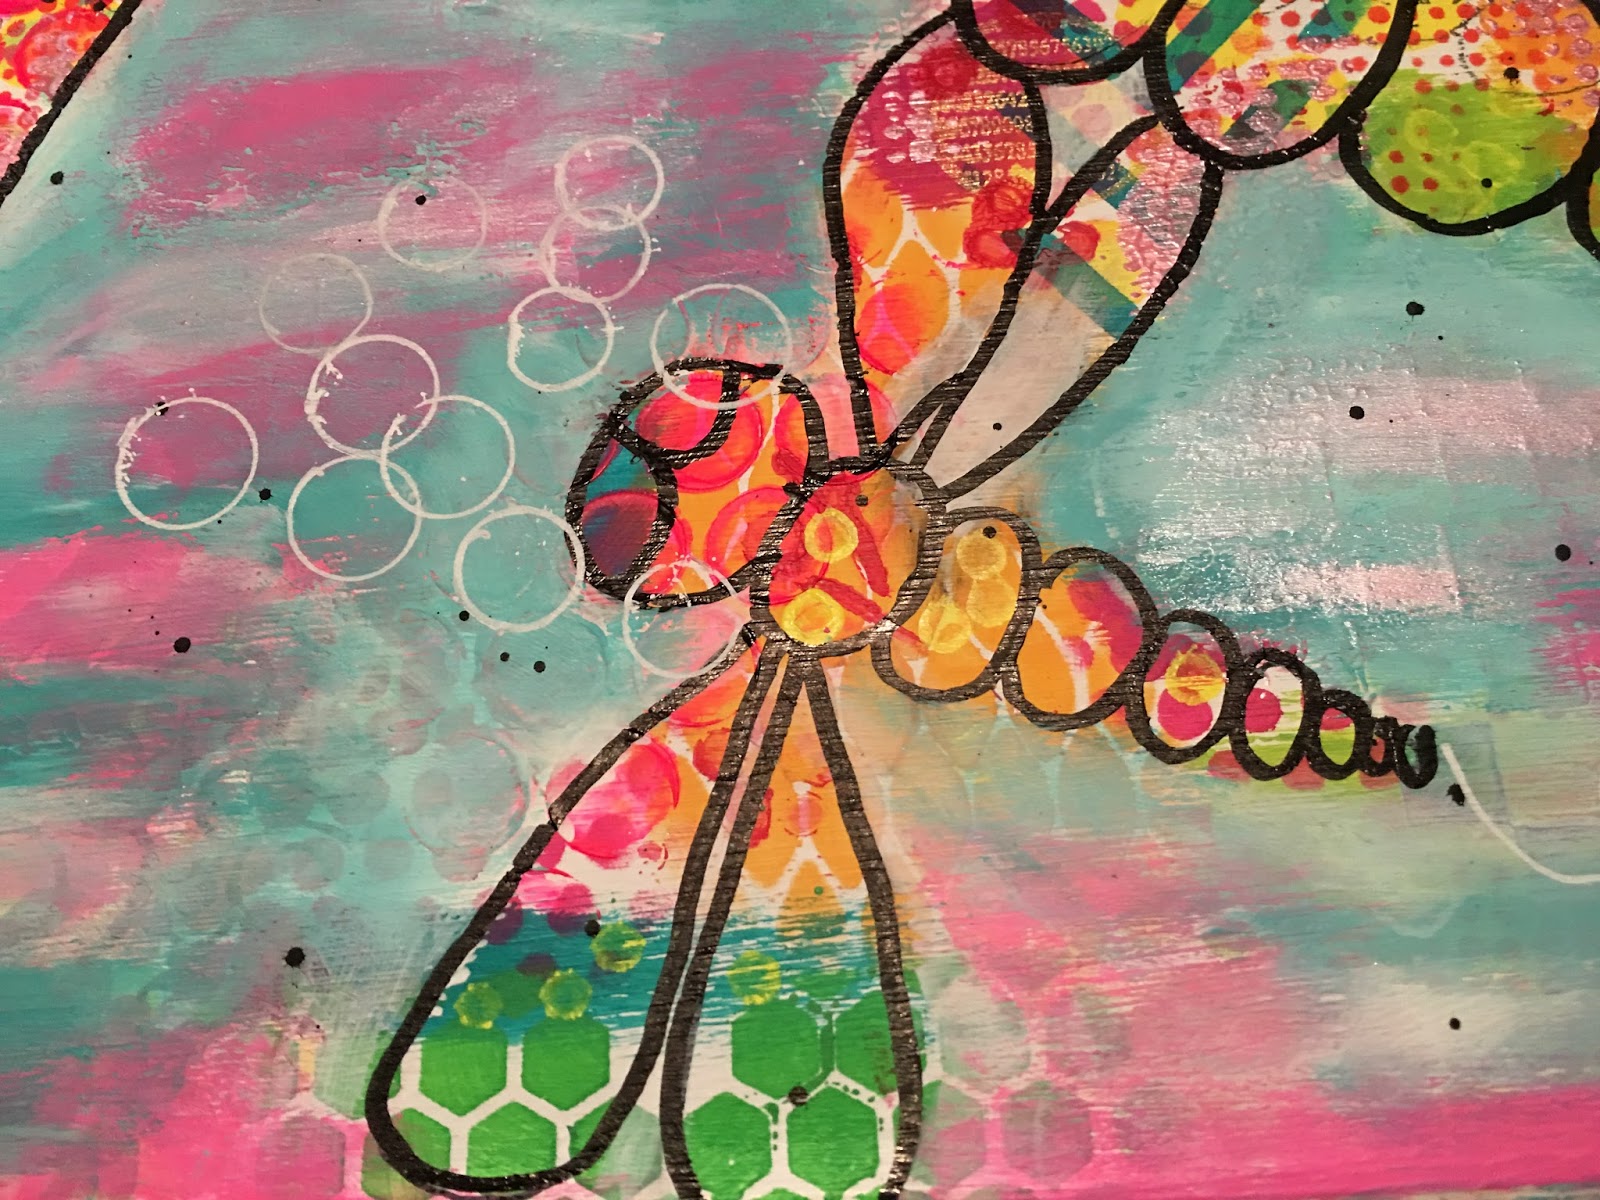
It's a wooden box in the size of 40 cm X 30 cm I first painted the box with white acrylic paint then I build layers by layers with several colours using my fingers, baby wipe and stencils until I get the results that I wanted. When I was happy with the results I drew the dragonflies with black Posca Pen. Then I used a baby wipe and my fingers dipped in gesso, some pink and some turquoise acrylic paint and painted around the dragonflies.

I must admit that I was inspired by the great artist Nika Rouss (nikainwonderland) when I made this.
I thought it became absolutly georgeous. What do you think?

Sometimes I think it's nice to paint other than just canvas and Art Journal, etc.

Here is some details:


I hope you have a wonderfull day!
I will soon come back, don't go away.

Hugs, Anita
♥


Thursday, 7 January 2016

Fun fun fun with Gelli Plate and Package Tape


Hello and Happy New Year!


I am finaly back in my Craft room after a looong holiday ☺ I am so ready for doing some art no so I'm just starting by showing you my latest artwork:


This I made on my Gelli Plate, and I would like to show you step by step how I did this:

1. Take your Gel Printing Plate, cover some space with Delipaper. If you don't have Delipaper like me, you can use bakingpaper from your Kitchen.


2. Roll on acrylic paint with one or two colors. I've used two colors here; green and yellow


3. Find some stamps you want to use. I've used stamps from Rubber Dance.


4. Stamp all over your Gelli plate with different colors and different stamps.


5. Let it all dry. It is very important that it is all completely dry. This technique will not work if the paint is still wet.

6. Take your package tape and tape side by side all over your Gelli plate. Start at the top of your plate and tape all the way down. Make shore you're not overlapping.


7. Pull the tape of and then turn the backside up on your workingtable and ad some Metal Leaf in silver, gold or copper here and there on the tape where there is no paint. Don't use to much of the leaf, just a tiny bit here and there.


8. Ad colours on the open space where it's still sticky with Pan Pastel or Perfect Pearls with a brush. Use different color and different media on each strip for variation.


9. Clean your brush betwen the layers on a silicon mat.

Here is the final results, strips in beautiful bright colours and patterns. It's much more colorful and bright in reality. Try it and you will see ☺

You might use these colorful glossy strips to paste in your Art Journal as a window with a frame, like I will do.

And with this colourful beauty I'm joining the fun at:
Scrapiness - Utfordring #11: Mixed Media Desember/Januar - Using a lot of media like Gelli Plate, Tape, stamps, Paint, inks, Perfect Pearls, Pan Pastel and Bakingpaper.
Anything but cute - Challenge #9 - Ring out the Old, Bring in the New - My New is a New technique, using Package Tape as a Canvas, Metal Leaf and Bakingpaper.


All the stamps I've been used is from Rubber Dance. If you want to buy some stamps from Rubber Dance remember to use the code Anita2016 and you will get 15 % of on your purchase.

I hope you enjoyed this tutorial and that you come back soon. Please leave me a comment, I very much appriciate it!

Hugs, Anita
♥

Wednesday, 14 October 2015

Happy colours in Art Journal - step by step

Hello and welcome to my world of art <3

Today I will show you an double art journal page that I'm very proud of.
I will first inform you that I have been inspired by the lovely Mimi Bondi. She is one of the most talented artist I know of, So I dedicate this page to her.


I have used many different colors in bright tones and painted layers and layers...
I have only used my fingers to apply the Paint.


I've also used rubber stamps, gold ink, black ink and stencil.

Here is some close ups of the pages:


For the big elephant I have used stencil. On the first page I've using black Dylusions Paint on the body and bubblegum pink on the ears.


On the second page I lay the stencil down on the page, draw around inside the stencil and then I painted with black paint strokes until after taking away the stencil. Then I used the Dot Fade Stencil from Tim Holtz Collection on the black.


I am very proud of this pages. I think they were absolutely gorgeous, if I may say so. What do you think? Please leave me a comment and also come and visit med again.


Hugs from Anita/Niti
<3