Monday 30 October 2017

Tips and Tricks Monday - How to achieve exciting texture in your artwork

Hello and welcome!

Today is it the Tips & Tricks Monday again, yeeah!

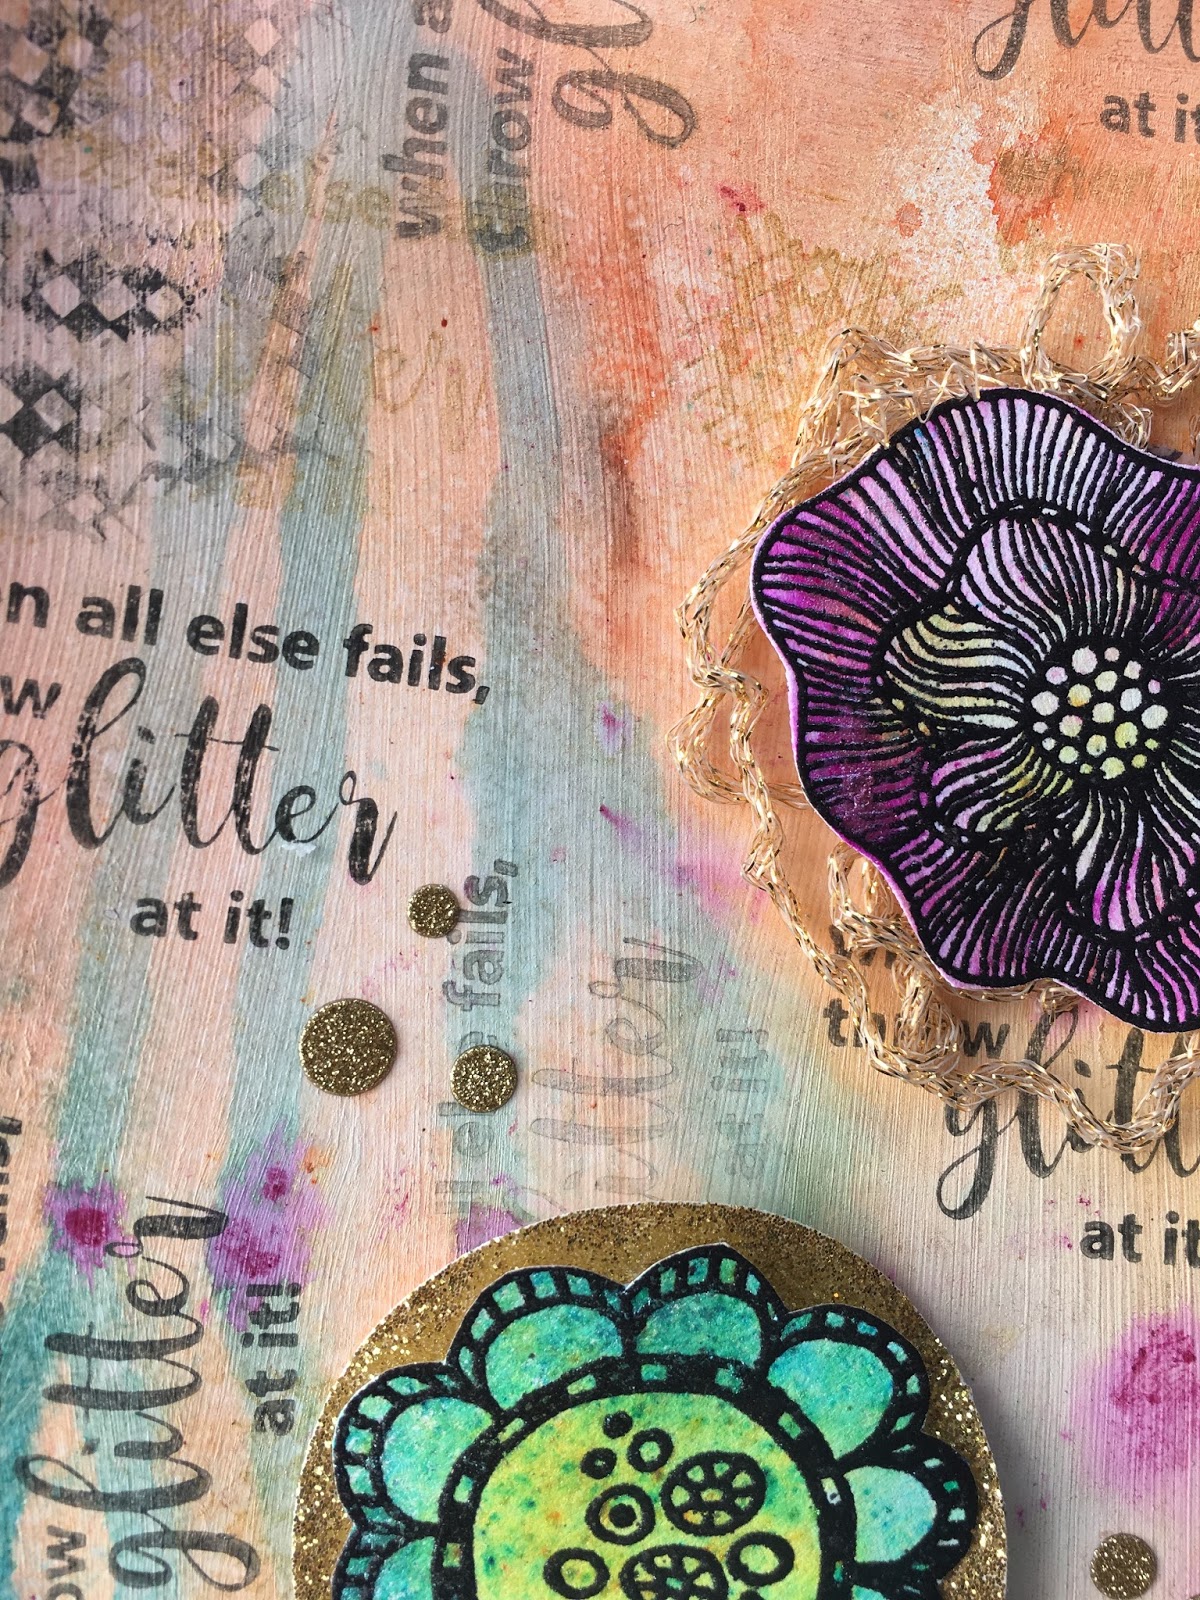
A while ago I was asked how I achieved such a nice texture in the background:

And finally, the day has come where I will show you the cool technique 😊 But I have to say that I'm not the great inventor here, I learned this technique by amazing Rae Missigman on a course I took with her.

Here is the final result of my canvas:


Below is a step by step how this canvas became like that:

I started with a canvas and some heavy gesso

Then, when the gesso was dry I glued down some pattern- and gelli printing paper with soft matte gel

After all was dry I went over with a dry brush and white gesso

I added more paper


and more gesso


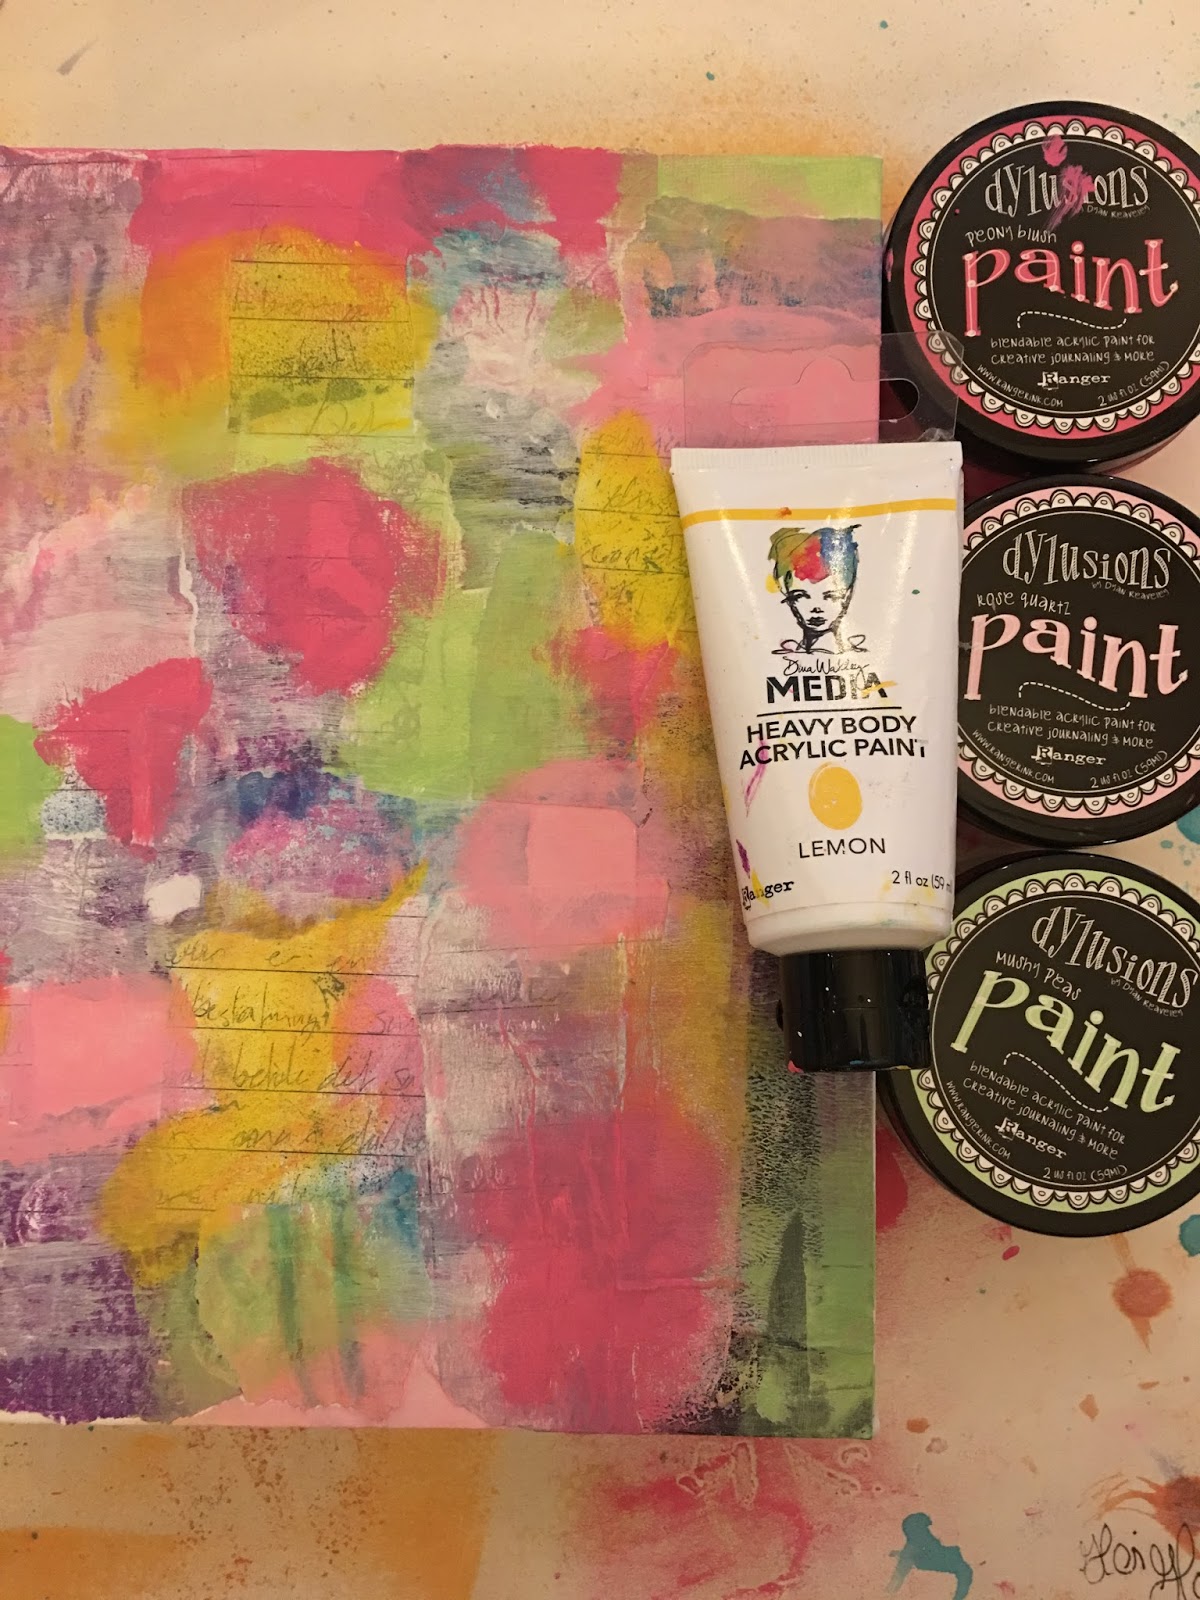
Now it was time to add some colour

and more gesso

Then some stenciling


More gesso....

What I'm trying on here is to achieve a lot of texture by building layer on layer.

And now pam pam paaaaaaaammmm!!!! Here comes the cool technique:

A newspaper!  You can also use, for example, a page from a phone book - then the technique becomes even cooler. Unfortunately, I do not have phone book so I have to cope with a newspaper page. 

I find somewhere in the newspaper where I think it is a little interesting font. Greases a little soft mat gel on my canvas and places the newspaper page with the front down. Then I use an old credit card and scratch over the newspaper page several times. Then I remove the page  (after a second or so) and VOILA!... I hope... You may have to do it several times to get the desired result.


Now I need some more texture

I stamped all the flowers and the butterflies on tissue paper. I used the water brush to tear them out. (That was a Tips and tricks from last monday). The stamps is from Rubber Dance. Du can find them here

I think I needed even more color and maybe a little black and white too

I decided I needed a little drips and drops


Now it's time to glue down the butterflies and the flower I decided to use on my canvas.


Here is another tip for you: Use acrylic flow release when you want the paint drain / drip. Then you keep all the pigments in the paint and you don't make it completely transparent. Mix some acrylic flow release and several parts of water in a spray bottle, and you always have it handy to make drips and drops.

I colored the butterflies with Dina Wakley's Scribble sticks and Distress Crayons. I used the black and white for shadowing.


Then I decided that I needed even more color

Now I think my canvas is finish. With a little more colours and some shadowing - Voila! 


On this canvas there is layer by layer by layer by layer..... And that is what it makes it so interesting, don't you think?

Thank you so much for visiting! I will be back on the 1th of November with some inspiration for the new Challenge over at the Rubber Dance. And next monday there will be a new tips & Tricks Monday. Stay tuned!


Hugs, Anita


Friday 27 October 2017

New stamps release from Rubber Dance

Hello and welcome,

Today I want to tell you some exciting news. Rubber Dance have a new stamp release, which is crazy awesome flower stamps, designed exclusively for Rubber Dance by the DT member Melina Dahl and cool sentiment stamps with some bling designed by Bibi, the owner of Rubber Dance.

I had to get them all, and here is a art journal page I did with some of the new stamps. Look how awesome they are!

Some close ups for the details:


Both stamp sets are big sheets, about 12 x 17,5 centimetres (just under 5 x 7 inches), and the size of the flowers make them suitable for cards as well as art journal pages.


There is glitter all over the art journal page. I've been playing with sprays and Magicals from Lindy's Stampgang :-) 


There is a 20 % discount on all the new stamps until 31st of October.
Regular price, each of the Crazy Flower sheets will be €18,50 - now only €14,80!
Regular price of the Bling sentiments will be €9,75 - now only €7,80!
To order, please go to Rubber Dance web shop right here.


With this floral art journal page I will join the Challenge over at That's Crafty - Forever Floral Challenge.

Thank you so much for visiting. Hope to see you back soon.

Hugs, Anita 

Monday 23 October 2017

Tips and Tricks Monday - Stamping on tissue paper and how to tear it

Hello and welcome,
today it's monday again and this day came as "julen på kjerringa" as we say here in Norway LoL.. I've had a bad week where I have spent most of the days on the couch or in bed in very bad shape, so I have not done anything of what I have planned and wanted to do. And Saturday was my birthday, and the whole family came for dinner and cake..... You know the feeling right?

So instead of showing you something I've planned for a while and what's very cool (and as I know some of you have been waiting for),  I just come in and show you a quick  tip on how to get the best result when using stamped motives on tissue paper. How to tear it in the best possible way.

I've made this card and the background is very colourful and textured so I decided to stamp the main subject on  tissue paper, tear it out and paste it on to the card. 


And this is my trick:
Use a waterbrush and wet the paper gently around the subject, then it's much easier to tear without tearing up the subject.

The stamp is from Rubber Dance. You can find it here
Hopefully, I'll be a little better the following week, so I can show you the aforementioned cool trick next Monday. Stay tuned! 


Hugs, Anita

Monday 16 October 2017

Tips and Tricks Monday - How to use only a small part of the stamps

Hi and welcome,
today it is Tips and Tricks monday again, yeeh!

I have a lot of stamps (most of them is from Rubber Dance - just because I love them to much), and sometimes you just don't want to use the hole image, just a little bit. And by not using the whole image on the stamp, you can suddenly get a brand new stamp, right? Like this card I've made:


The starting point was this rubber stamp:


I just used my Faber-Castell black pen and colored just the cat and stamped it on my cardstock.


And by the way, I have another tip for you: when the stamps is unmounted (as the Rubber Dance stamps) just use your gluestick to attach the stamp to the acrylic block. When you're done stamping use a babywipe and clean both the stamp and the acrylic block. Easy peasy!


Here is the inside of my card:


Thank you for visiting! I will soon be back.
And next monday there will be a new Tips and Tricks Monday for you. 


Ups.. almost forgot; the cat and the sentiment  at the front of my card is from Rubber Dance. You can find them and a lot more in the Rubber Dance online store. When you buy stamps for £15 and more at Rubber Dance remember to use the code AS-FreeShip to get free shiping!

Hugs, Anita